Install Auto-Sklearn in Amazon SageMaker: Python 3.9 Guide
- September 27, 2024

Quick Setup Steps
- Create Python 3.9 environment: conda create -p ~/.conda/envs/custom python=3.9
- Install auto-sklearn and dependencies: pip install ipykernel auto-sklearn scikit-learn numpy
- Configure SageMaker: Create .condarc file and switch notebook kernel
- Test installation: Import autosklearn.classification and run sample code
Introduction
Although LLMs and generative AI are the hot topic these days, AutoML is also pretty exciting. With AutoML tools, you can automatically build machine learning models that make good predictions without much effort or expertise. In the past, you needed a human expert to spend hours processing data and trying different algorithms to build a useful model. With AutoML tools, you don’t need to be an expert to build predictive models. Instead, you provide the AutoML tool with your data and it tries hundreds of models and parameters for you until it finds a combination that makes accurate predictions.
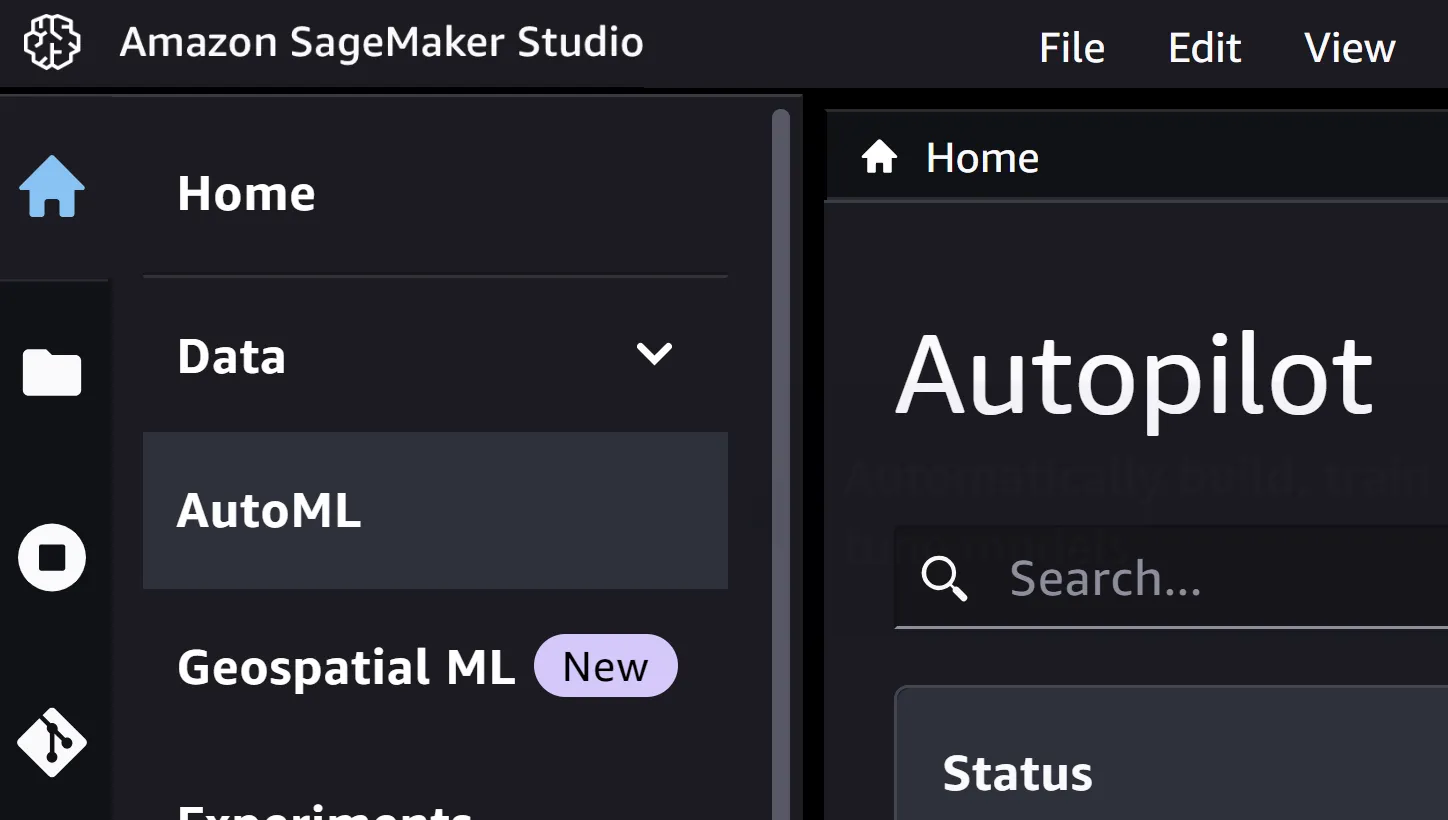
Amazon’s AutoML
Amazon released its own AutoML tool called AutoML (or maybe it’s called Autopilot…Amazon is not very good at branding). Anyhow, whatever it’s called, it’s very easy to use. It runs in Amazon’s SageMaker product and its companion UI, SageMaker Studio. SageMaker Studio basically puts the whole workflow for building machine learning models in one place. In “serverless” fashion, it automatically creates whatever security and computing infrastructure you need along the way.
I like SageMaker Studio a lot. But Amazon’s built-in AutoML is overkill for many projects. It doesn’t cost a ton of money to build and run models, but it creates a lot of explanatory notebooks, data files, and other artifacts every time you use it. That means lots of reads and writes to S3 storage. Those costs can add up quickly when you’re repeatedly building models. You don’t really need those extra notebooks and files unless you have a data science or analytics team that needs to review them. And if you’re refreshing your models with data on an automated schedule, you definitely don’t want to waste resources creating those extra artifacts every time.
Most importantly, though, Amazon’s AutoML creates SageMaker models. To use them to run predictions, you’ll need to use SageMaker. So, that locks you in to using SageMaker and its APIs. Again, I think the SageMaker platform is great. But I like having some flexibility in case something changes in the future. I wanted an alternative to SageMaker AutoML that worked in SageMaker but would also run in other environments, if needed.
An Alternative AutoML
Scikit-learn is a widely-used open-source machine learning library for the Python programming language. In fact, if you select the “Machine Learning 3.0” image for your SageMaker Notebook in SageMaker Studio, scikit-learn is there, out of the box. You have many options available to deploy scikit-learn models to run predictions, including on SageMaker.
It turns out there’s an AutoML library called auto-sklearn that’s built on top of Scikit-learn. It’s been in development for several years and has produced some impressive published results. However, auto-sklearn is not available in any of Amazon’s SageMaker images. You’ll have to jump through some hoops to get it running in SageMaker studio.
Setting up the SageMaker Notebook Environment
Amazon’s SageMaker Notebooks (which are Jupyter notebooks under the hood) create virtual machines to run Python code. There are a few components that make up a notebook environment, including an “image” and a “kernel”. Generally, you first select the “image” that contains the tools and programming languages you want to use, and then select a “kernel” that contains the libraries and versions that you want to use.
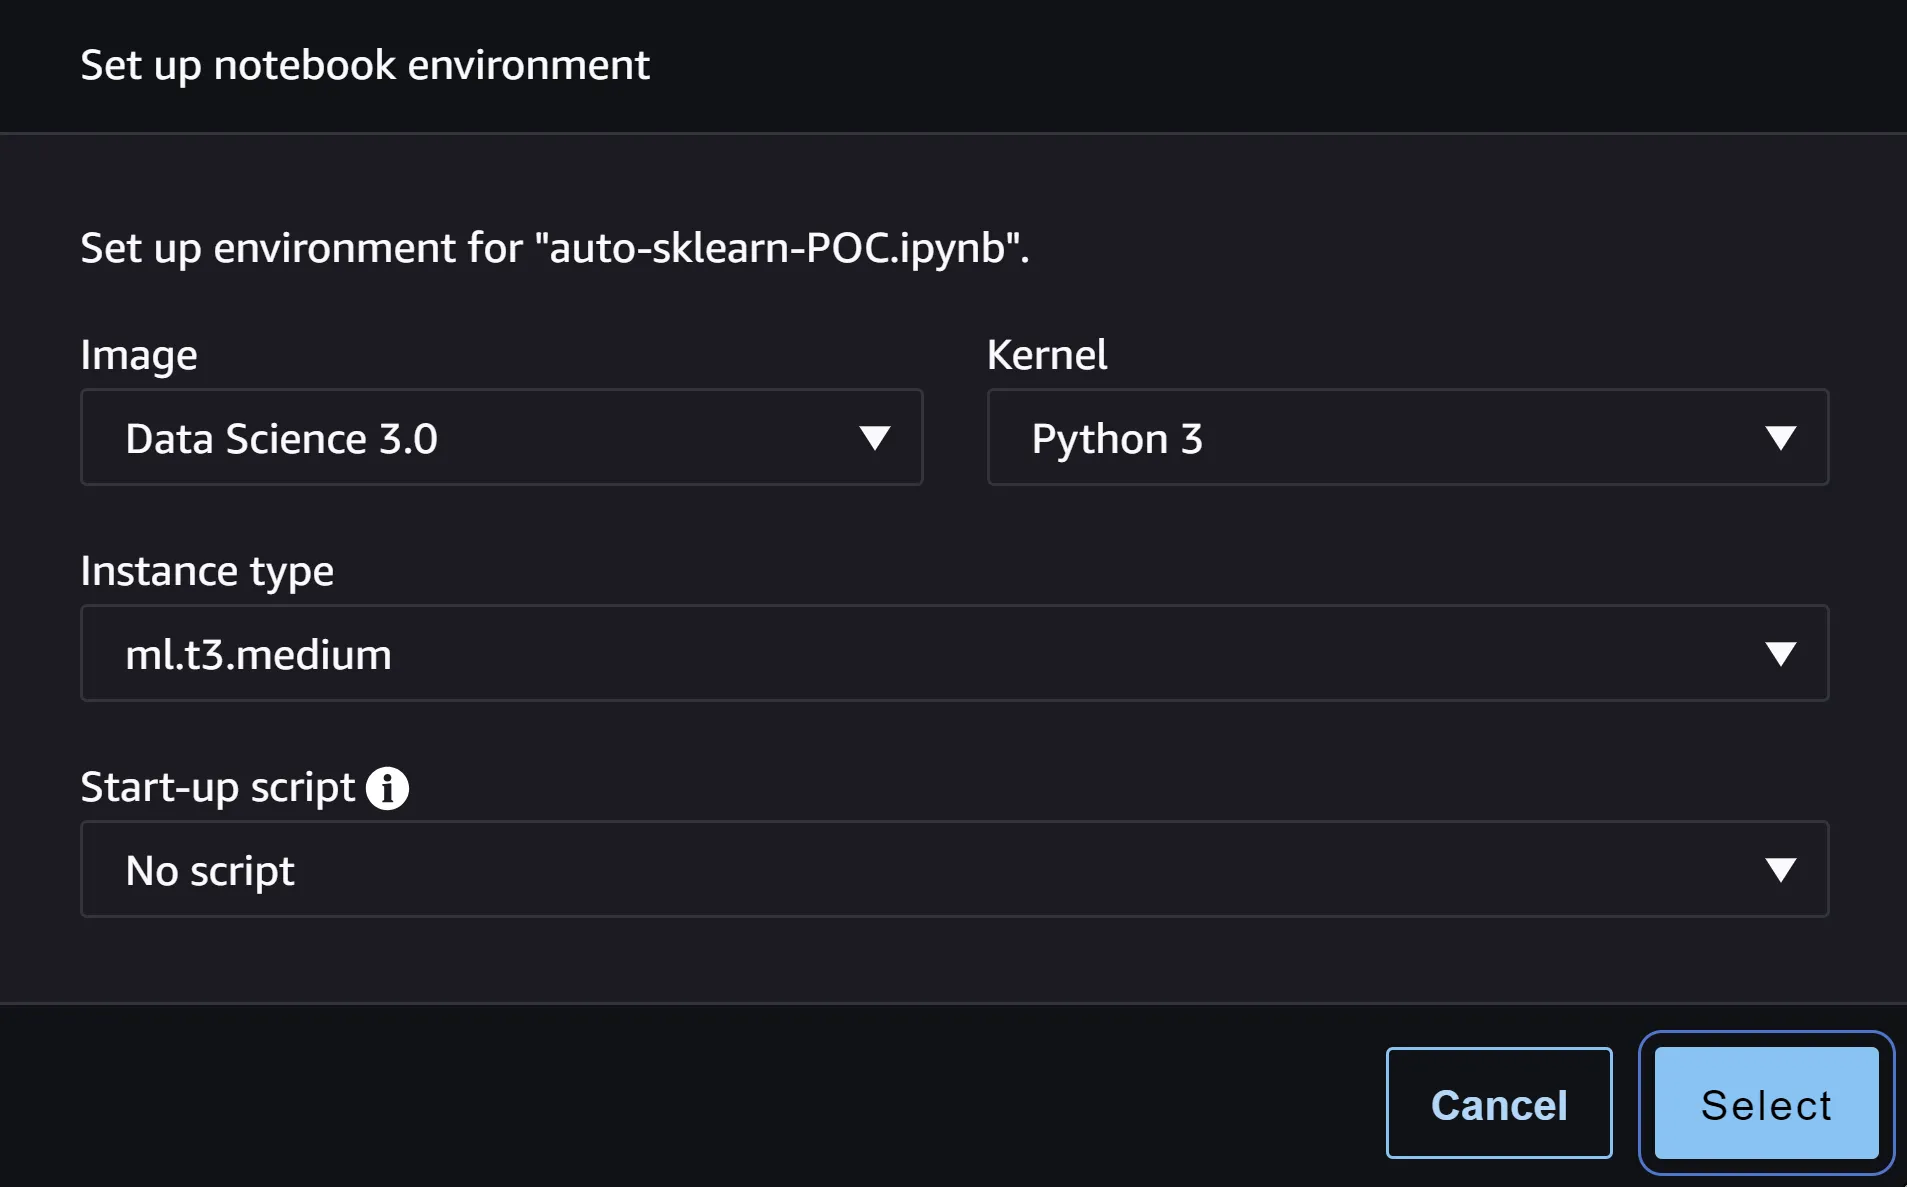
At the time of writing this, the “Data Science 3.0” image was the most recent Python image, and the one I chose to use. There’s one kernel named “Python 3” available in that image.
 You can use Scikit-learn without any extra steps because it’s included in Amazon’s Data Science image.
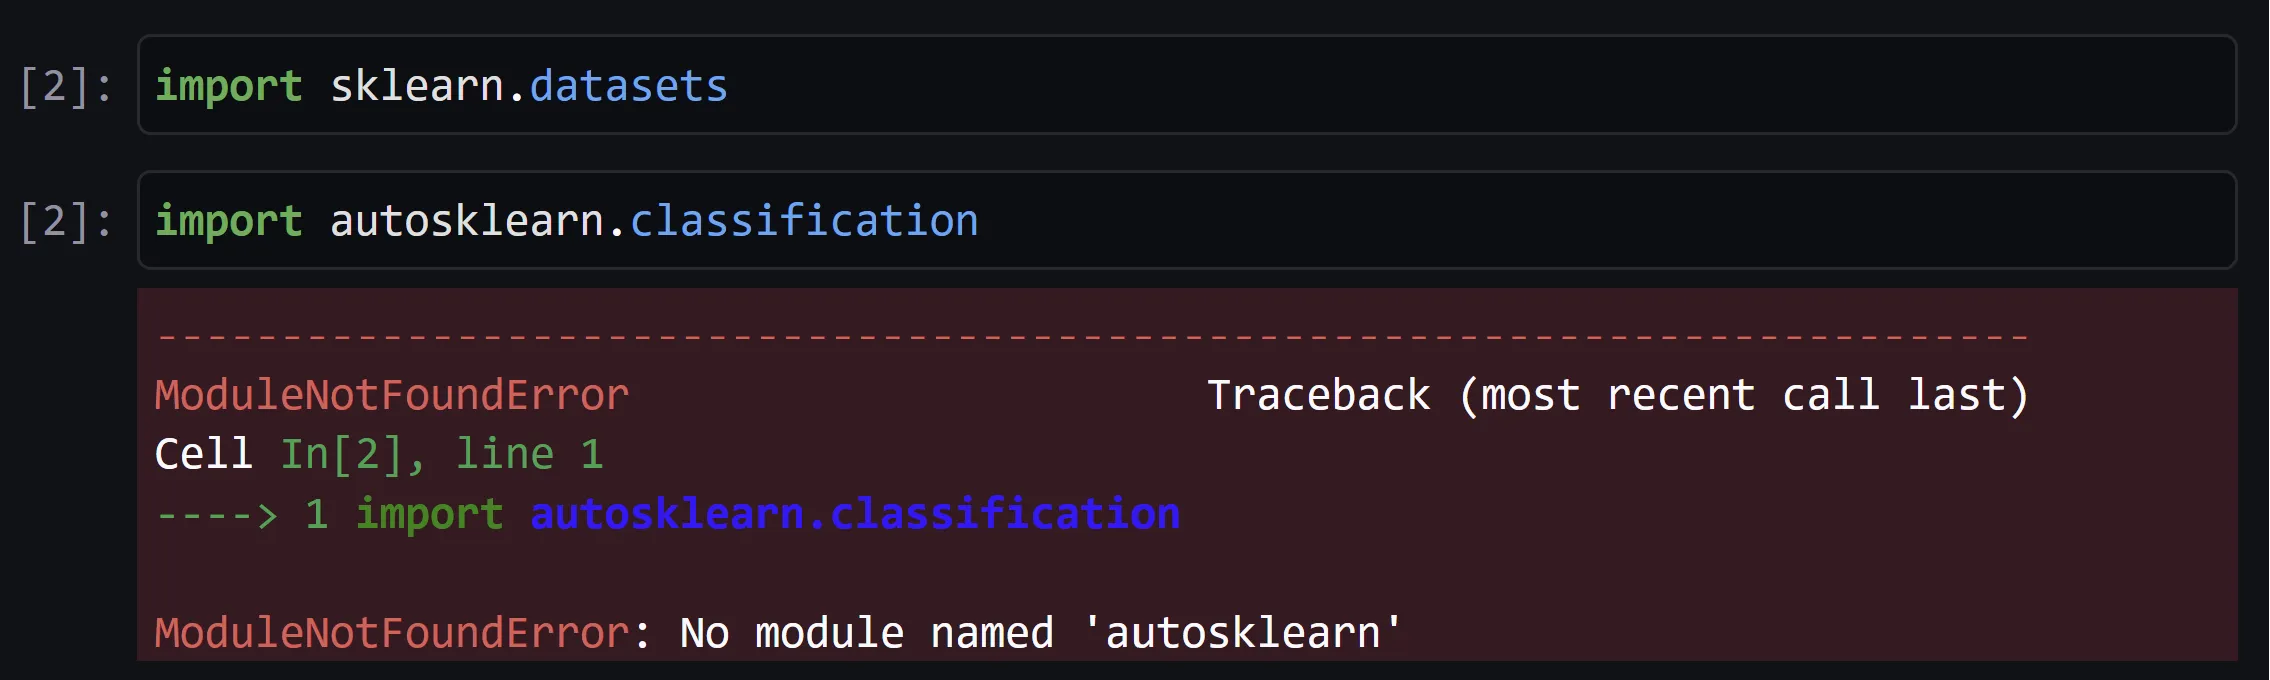 However, if you try to import auto-sklearn, you’ll get an error because it’s not included in the image. So you’ll need to install it.
Avoiding auto-sklearn installation errors
Before you can install auto-sklearn, you’ll need to change the version of Python in the Data Science image. After some trial and error, I discovered that auto-sklearn won’t install on Python 3.10 or newer. At least not right this moment. There’s a github issue that tracks this. Someone will probably fix that at some point.
 If you run python —version from your notebook, you’ll see the image includes version Python 3.10. So, before you can install auto-sklearn, you’ll need to switch Python to an earlier version. Fortunately, this isn’t difficult to do.
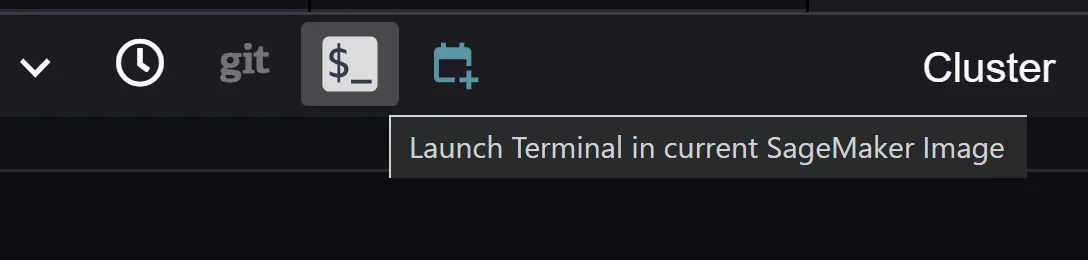
First, after the Data Science 3.0 image is loaded in your notebook, click the terminal icon to launch a shell. Out of the box, the terminal doesn’t give you access to all the tools you’ll need to install additional software and libraries.
root:~# conda activate base
(base) root:~# python --version
Python 3.10.6
(base) root:~#
You need to switch to the “base” Conda environment they’ve set up by running the command “conda activate base”. You can confirm that that base environment uses Python version 3.10 by running python —version.
If you try to install auto-sklearn on Python 3.10 using pip or conda, you’ll encounter a bunch of build errors. Again, auto-sklearn Python 3.10 compatibility is a known issue. You can use conda to create a new environment that is based on Python 3.9 instead.
But, before you do that, you need to make sure that the new environment will be saved on permanent storage. That’s because you should shut down your SageMaker Studio instance when you’re not using it, to avoid unnecessary costs. Any storage inside a SageMaker Studio instance is destroyed whenever the instance is shut down. To make sure the updated environment isn’t lost, you can store it on the elastic block storage (EBS) virtual hard drive that is automatically attached to SageMaker.
You can instruct conda to create a virtual environment on the permanent EBS virtual hard drive so it won’t get destroyed. The root user’s home directory is saved to the virtual hard drive on EBS, so that’s a good place to create it. Create a subdirectory in the root user’s home directory where conda can store the new environment. Then run the conda command to create an environment based on Python 3.9 and store it in that new subdirectory. Credit is due to András Garzó, who figured out this method and documented it in a github repo. Thanks also to github user durgasury, who adapted the instructions for SageMaker Studio in a fork of the github repo.
root:~# mkdir -p ~/.conda/envs
root:~# conda create -p ~/.conda/envs/custom python=3.9
When that command completes, you can check that it created a new environment by running the conda command to list all environments. You should see the original “base” environment and the new environment you just created.
root:~# conda env list
# conda environments:
#
base                     /opt/conda
custom                   /root/.conda/envs/custom
Finally, you can activate the new environment so you’ll have Python version 3.9 and can install auto-sklearn. To do that, run the conda command to activate your new environment. When a conda environment is active, you’ll see its name appear in the shell prompt in the terminal.
root:~# conda activate custom
(custom) root:~#
Using Python 3.9 in SageMaker Studio
Now that you have a Python 3.9 environment activated, you might think you’re ready to use Python 3.9 in a SageMaker Studio notebook. But if you run the python command to get the current version from inside a notebook, you’ll see it’s still on version 3.9.
You’ll need to do a couple of things to make SageMaker Studio aware of the new environment. First, you need to install ipykernel, which will allow your SageMaker notebooks to see the custom conda environment you created. You can use pip to install ipykernel from the terminal. Just make sure that you see the name of your conda environment in the prompt, so you know you’re installing it in your custom environment.
(custom) root:~# pip install ipykernel
Next, you’ll need to create a .condarc file, which will store information about the environment in the root user’s home directory, so it will not be destroyed when SageMaker Studio is shut down. I couldn’t find any editors installed in the Data Science image, so I just created the file the old fashioned way, using echo.
(custom) root:~# echo "envs_dirs:" > ~/.condarc
(custom) root:~# echo "  - ~/.conda/envs" >> ~/.condarc
Once you do this, you should have a file called .condarc in the root user’s home directory.
(custom) root:~# cat .condarc
envs_dirs:
  - ~/.conda/envs
Whenever you need to use Python 3.9 in a SageMaker notebook, you should first start up the Data Science 3.0 kernel as usual. Once the kernel finishes starting up in your notebook, you can change the kernel to the custom environment.
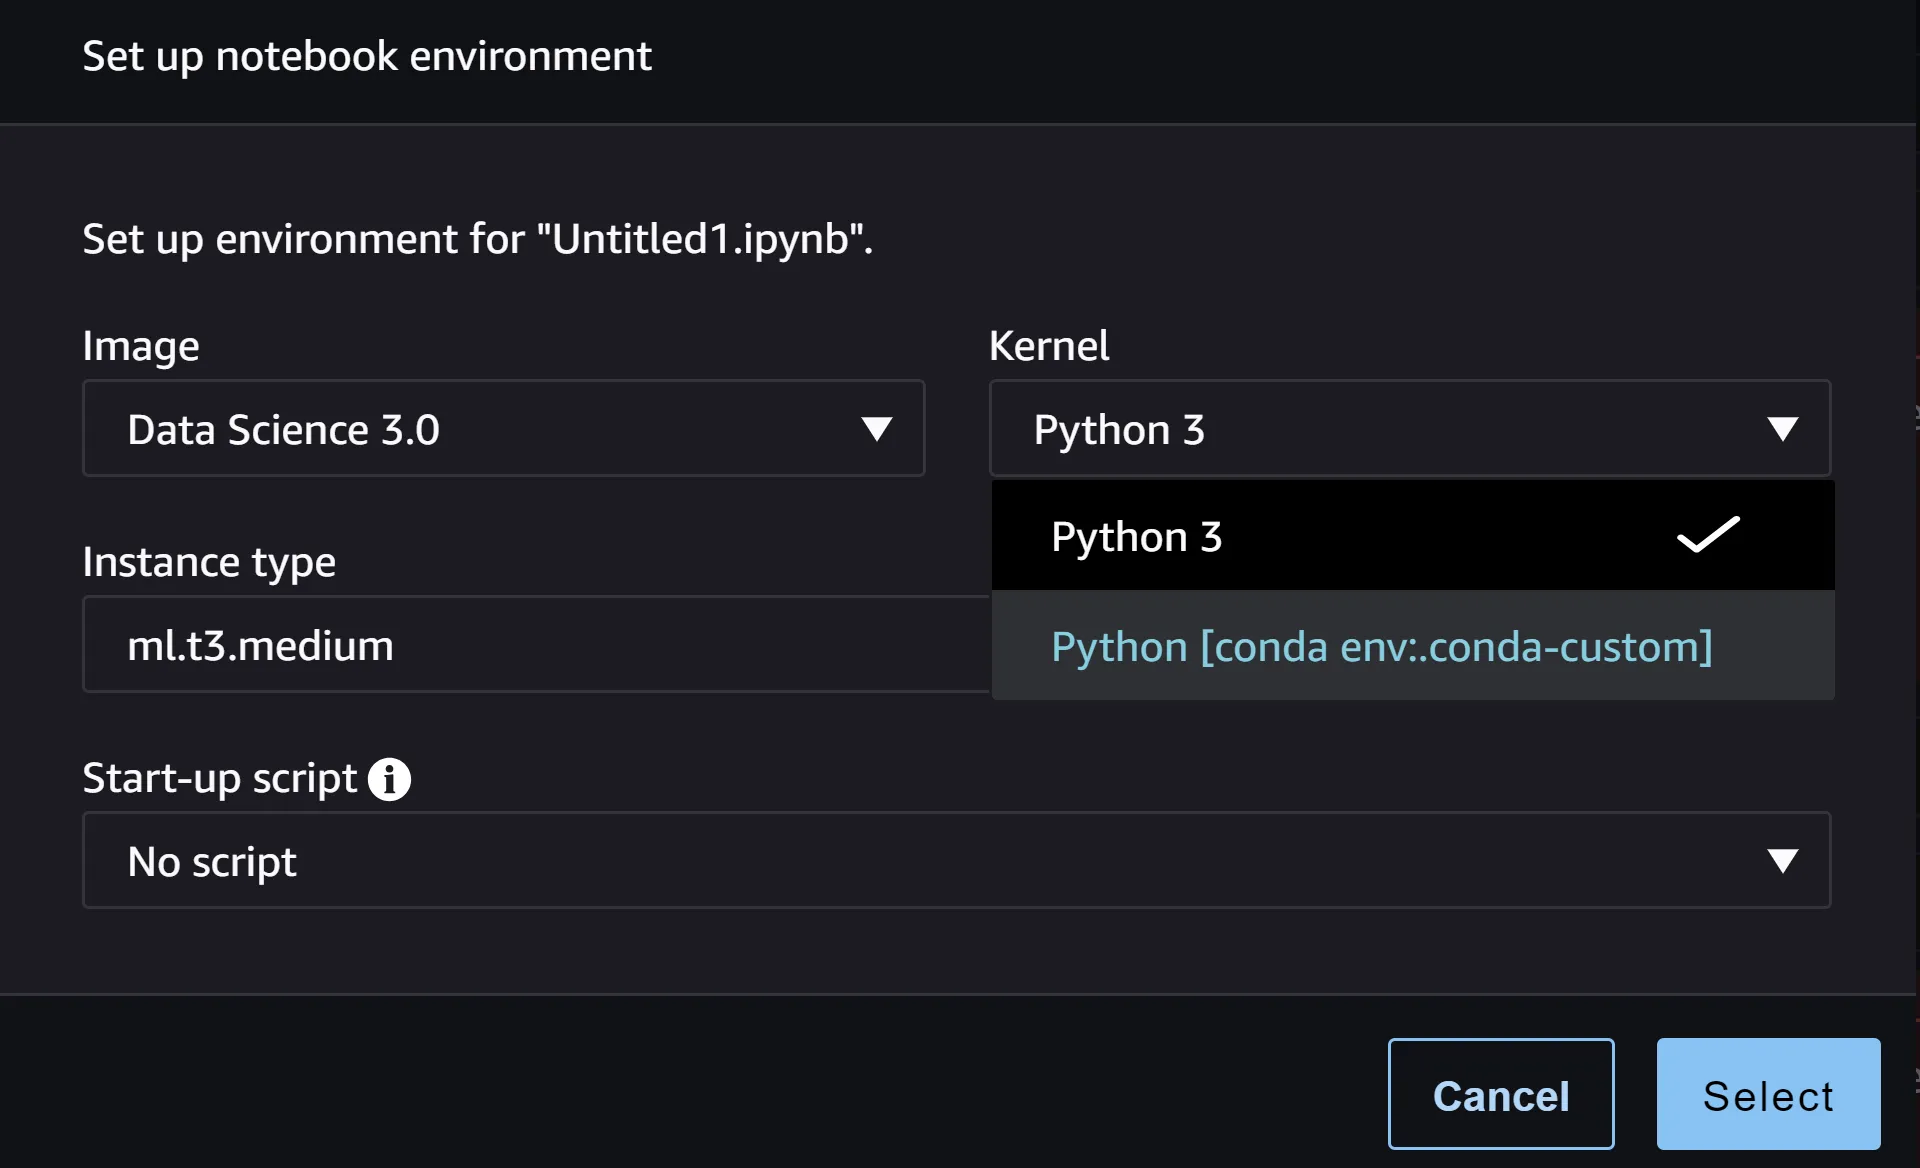 With your notebook tab active, from the “Kernel” menu at the top of SageMaker Studio, select “Change Kernel…”. You’ll now see an additional Kernel option in the dropdown menu for your custom environment. Select that custom environment and click “Select”. To switch to your new custom kernel.
 After switching to the custom kernel, when you check the python version from your SageMaker notebook, it will report that it’s Python version 3.9. Remember, even if you completely shut down SageMaker Studio and start it up again later, you’ll be able to switch to your Python 3.9 environment after starting up the Data Science 3.0 kernel in a notebook.
Installing auto-sklearn
Finally, with Python 3.9 active in a notebook, you can install auto-sklearn. From the terminal window, again, make sure you see the name of your custom conda environment in the command prompt. Then run the pip command to install auto-sklearn and its dependencies.
(custom) root:~# pip install auto-sklearn scikit-learn numpy
If everything was installed correctly, from a SageMaker notebook where you’ve activated your custom kernel, you should be able to import auto-sklearn without error.

Testing that auto-sklearn is working
If you were able to import auto-sklearn successfully, then you are probably ready to start building machine learning models. To know for sure, you can build a model for one of the built in Scikit datasets. I won’t go into detail about what’s going on here because there are better resources for learning about auto-sklearn.
In summary, when you run this code in your notebook, it will load a sample dataset that’s included with sklearn, separate the data into training and testing data, fit a model to the training data with auto-sklearn, and then run predictions using the testing data.
If you run the code exactly as it is below, you should end up with an accuracy score of 0.958041958041958.
# Import libraries
import sklearn.datasets
import sklearn.metrics
import autosklearn.classification

# Load a built-in sklearn dataset
X, y = sklearn.datasets.load_breast_cancer(return_X_y=True)

# Split the data into test and training sets. If you leave
# the random_state parameter set to 1, then you should get the
# exact same expected results that you see here.
X_train, X_test, y_train, y_test = \
    sklearn.model_selection.train_test_split(X, y, random_state=1)

# Run the auto-sklearn classifier on the data.
# This code tells auto-sklearn to run for only 120 seconds or two
# minutes, so this code will take at least two minutes to complete.
automl = autosklearn.classification.AutoSklearnClassifier(
    time_left_for_this_task=120,
    per_run_time_limit=30,
    memory_limit=4000,
)
automl.fit(X_train, y_train, dataset_name='breast_cancer')

# Predict classifications using the holdout test data
# If you left the random_state parameter set to 1 above, then you
# can expect to see an accuracy score very close to 0.958041958041958.
predictions = automl.predict(X_test)
print("Accuracy score:", sklearn.metrics.accuracy_score(y_test, predictions))
Summary
If you see the expected accuracy score when you run the test code in your notebook, then auto-sklearn is working. You’re ready to start building auto-sklearn models inside SageMaker Studio.
In summary, what you did first was to create a conda environment based on Python 3.9 because auto-sklearn will not currently run on later versions of Python. You stored that environment in the root user’s home directory in your SageMaker Studio instance. This meant that the environment would persist on an AWS elastic block storage (EBS) virtual hard drive, even if you shut down your SageMaker Studio instance.
Then you installed ipykernel and stored configuration information about the conda environment in the root home directory so that your notebooks could switch to use that environment.
Finally, you installed auto-sklearn and its dependencies using pip and ran some optional test code to confirm that everything was working.
I hope this was helpful. AutoML is a powerful approach to building machine learning models. Having it available in a “serverless” way in SageMaker Studio is a compelling way for non-experts to build predictive models and add the power of AI to all kinds of products and services.